Common FBX Export Workflows
Exporting Characters with Morphs
In this example, you’ll load Dregon from the Poser character library. You will be provided with an option to select all or some of the morphs that are already included in Dregon. This example will also demonstrate how to select options for exporting to the Unity game engine.
Choose File> New to create a new Poser scene.
Delete the default character (Andy) from the scene.
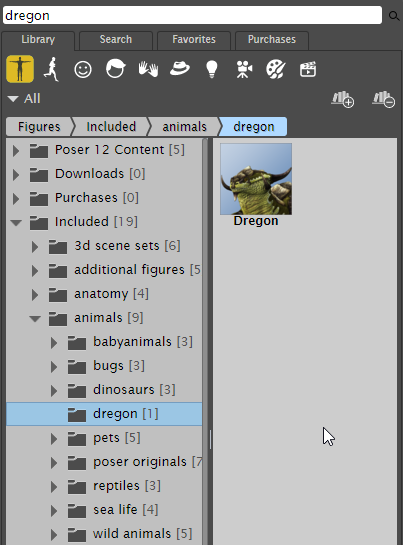
Load Dregon from the Figures> included> Animals> Dregon library folder.
Load Dregon from the Characters library folder.
Choose File> Export> FB X. The Export Range dialog appears.
Click OK to accept the default option of Single Frame. The Select Objects dialog appears.
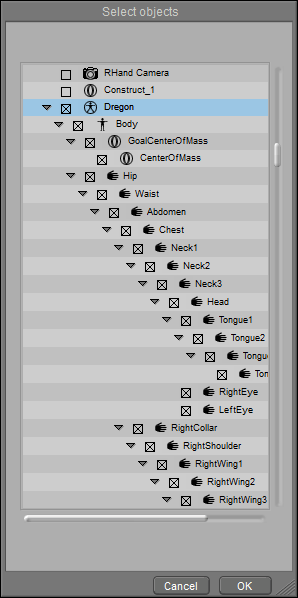
Accept the defaults in the Select Objects dialog.
Click OK to accept the objects that are selected by default. The Export Options dialog appears.
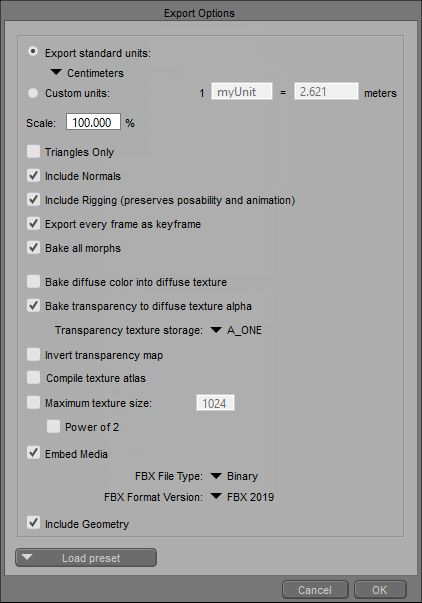
Click the Load preset button at the bottom of the dialog to select the Unity5 preset. The following options will be set with this preset (see FBX Export Settings and Steps for descriptions):
Export standard units: Centimeters
Include Normals
Include Rigging (preserves posability and animation)
Export every frame as keyframe
Bake All Morphs
Bake transparency to diffuse texture alpha (uses A_ONE transparency texture storage)
FBX File Type: Binary
FBX Format Version: FBX 2019
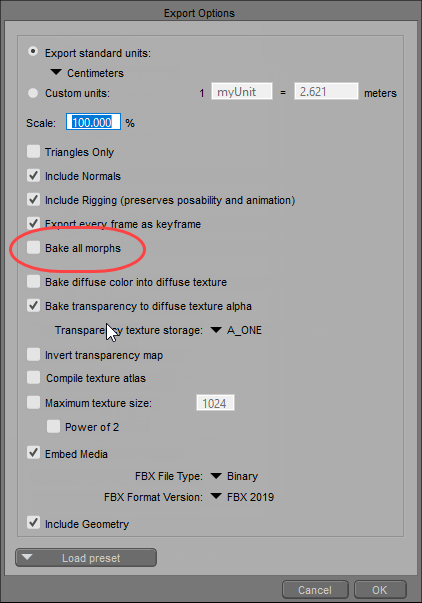
Options for Unity export.
Uncheck the Bake All Morphs option (circled in the previous figure). By doing so, any morphs that you select will be included in the character so that you will be able to animate them in your target application.
Optionally, check the Compile texture atlas option if you want to create a texture atlas.
Click OK. The Select Morphs dialog appears. This dialog lists all morphs in the character, based on their body parts. Check each morph that you want to include in the character.
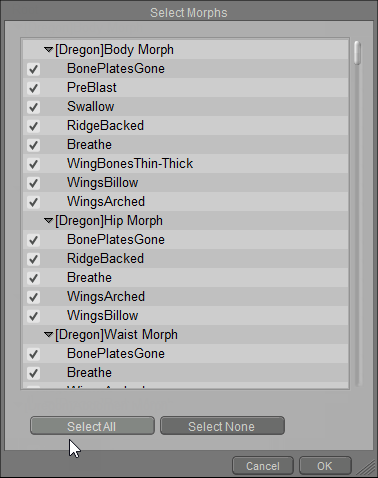
Select Morphs dialog.
To include all morphs, click the Select All button at the bottom of the dialog.
To include specific morphs, click Select None to make sure all morphs are deselected. Then check each individual morph that you want to include.
After you select your morphs, click OK to continue. If you checked the option to create a texture atlas, the Texture Atlas Options dialog (described in Texture Atlas Options) appears after a short time. All textures are selected by default. For our example we will leave the default selection as is.

Texture Atlas Options dialog.
Verify that 4096 is entered for the desired resolution for the texture(s) in the Atlas Max Size field.
Click OK to continue. The Export as FBX window prompts you to locate a folder and assign a filename.
Click Save to save the FBX file.
Exporting Animated FBX Files
Poser offers a number of different tools that help you create animated poses. For example:
You can use Poses in the Pose Library to pose your characters in intermediate poses over time. Poser will interpolate between those key poses to animate the in-between states.
You can use tools such as the Walk Designer and Talk Designer to generate walk cycles for your figures or animate speech.
You can use parameter dials or move body parts to transform, rotate, or scale body parts to animate them over time.
You can use Poser’s Editing tools, or use parameter dials to animate morphs that change expressions or shapes of a character.
For more information about how to animate in Poser, refer to Animating.
Poser’s COLLADA and FBX export supports the use of Animation Sets in Poser. For example, you can create sets that include animation for specific body parts (such as facial expressions, eye blinks, or other specific or repetitive body movements). Animation Sets will be exported as multi-take FBX or animation_clips in COLLADA, setting them up for interactive use in a game.
If your project includes animation layers, they will be exported automatically.
After you complete your animations in Poser, you can include this animation when you export your object(s) to FBX format. In the following example you’ll learn how to apply a pose to a figure and export the animated pose as an FBX file.
Create a new Poser scene, and delete the La Femme character that loads in by default.
Load BrainStem from the Figures> Included> Robots folder in your main Poser runtime.

Load BrainStem from the Figures> Included> Robots library folder.
Make sure you’re on Frame 1, and choose Figure> Zero Figure to place Brainstem in its default position.
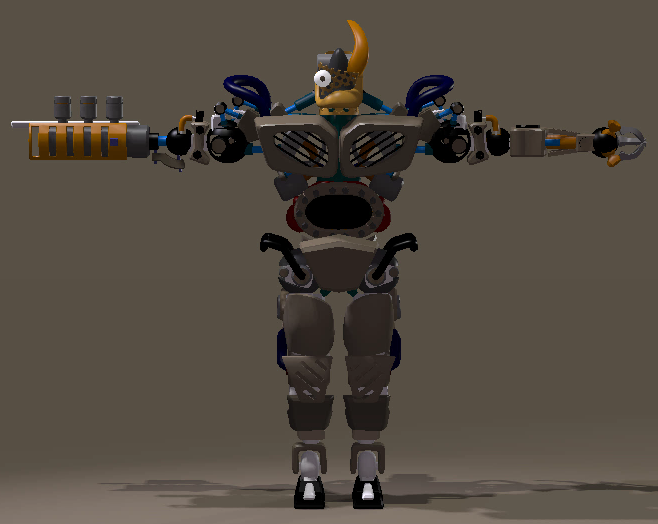
Zero the BrainStem figure.
From the Poses library, apply the Pose> included> People> SimonG2> Animations> The Robot pose.
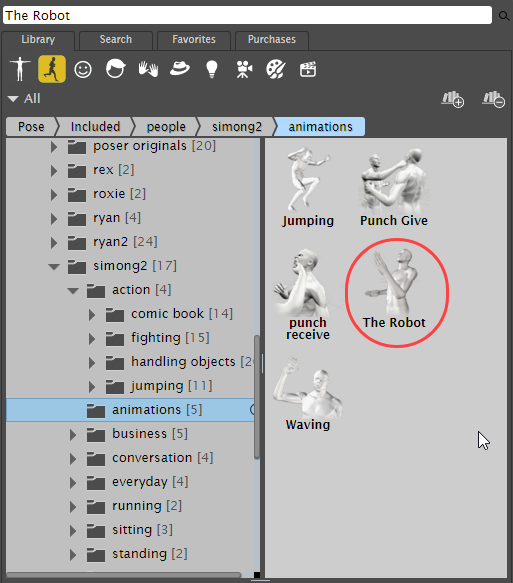
Apply the Included> People> SimonG2> Animations> The Robot pose.
When Poser asks if you want to add additional frames to the project, choose Yes.
Press the Play button to preview the animation if desired. Next, choose File> Export> FBX. The Export Range dialog appears.
Choose Multi frame export, and verify that the entire frame range is selected.

Export Range dialog.
Click OK to continue. The Select Objects dialog appears. Verify that BrainStem is selected (it is named Figure by default), and that the UNIVERSE, GROUND, and CenterOfMass objects are deselected.
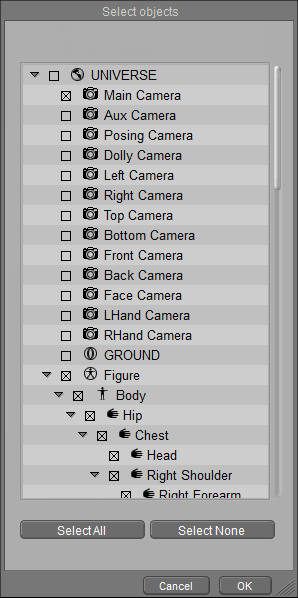
Make sure that UNIVERSE, GROUND, and Center of Mass objects are unchecked.
Choose OK to continue. The Export Options dialog appears.
In the Export Options dialog, first click the Select Preset button to choose the Unity5 preset.
Load the Unity5 preset before choosing other options.
Since Brainstem only uses one texture for reflection, you don’t need to generate a texture atlas. Uncheck the Compile texture atlas option for this example to copy the original texture with the FBX file.
Click OK to display the Export as FBX dialog, which prompts you to locate a folder and assign a filename. Then click Save to save the FBX file.