Rendering Layered PSD Files
Poser features additional options in the Render Settings dialog that allow you to specify additional information that can be output to a layered PSD file for further compositing in Photoshop. After you create your scene in Poser, you open the Render Settings dialog and check or uncheck the auxiliary render data options that you want to include in the Photoshop file.
If you do not have an image editor that can open PSD files, you can choose another image format such as PNG or TIF. Poser will export the auxiliary renders as separate images that you can later compile as layers in your image editor.
The Render Options section of the FireFly Render Settings window includes an Auxiliary Render Data drop down menu that allows you to select from the following options:

Check or uncheck layers to be output to PSD files in the FireFly Render Options window.
You can also render Auxiliary Render Data from the SuperFly renderer, but options are limited to Normal, ZDepth, and Texture Coordinates.
Then, you render your image and save it as a Photoshop PSD file. When you open your image in Photoshop you will see the full render as the Background layer. Each additional data option that you checked will appear on its own individual Photoshop layer.
Poser saves its native renders in EXR format. Photoshop versions support EXR format differently, with plugins such as OpenEXR or other similar EXR plugins.
* Versions of Photoshop earlier than CS2 do not have 32-bit per channel support. Though there may be some EXR plugins that work for these earlier versions, they will only open or save 16-bit per channel images only.
* Photoshop CS2 does not support transparency in 32-bits per channel mode.
* Non-extended versions of CS3, CS4, CS5, and CS6 do not have as much 32-bit per channel support as the Extended versions do.
* The EXR Plugin that ships with Photoshop doesn't support all of the features of EXR, so a third party plugin may be required. Some recommendations are Exr-IO (https://www.exr-io.com/) or ProEXR (https://www.fnordware.com/ProEXR/).

Background layer in Photoshop.
Normal: The world space normal of the frontmost surface, encoded as RGB values with x=red, y=green, z=blue. Normal layers are identified by the letter N in Photoshop.
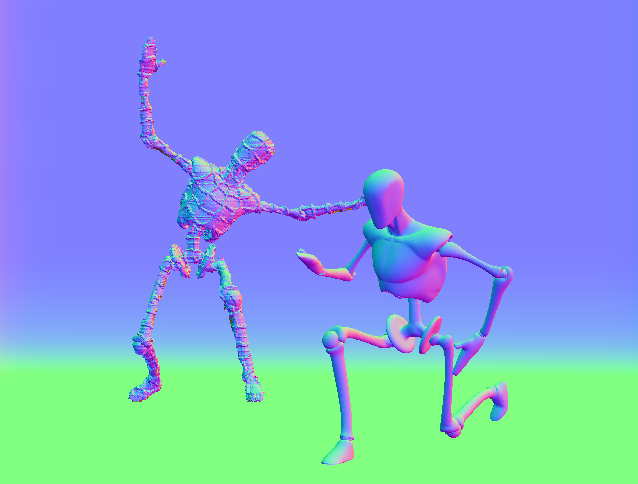
Normal layer in Photoshop.
Position: The world space position of the frontmost surface, encoded as RGB values with x=red, y=green, z=blue. Position layers are identified by the letter P in Photoshop.
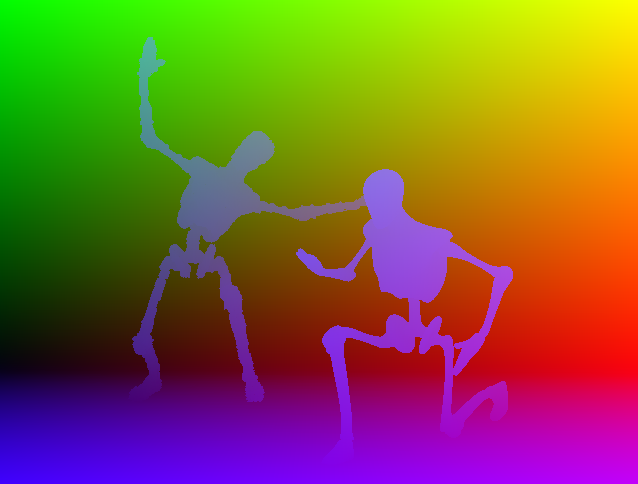
Position layer in Photoshop.
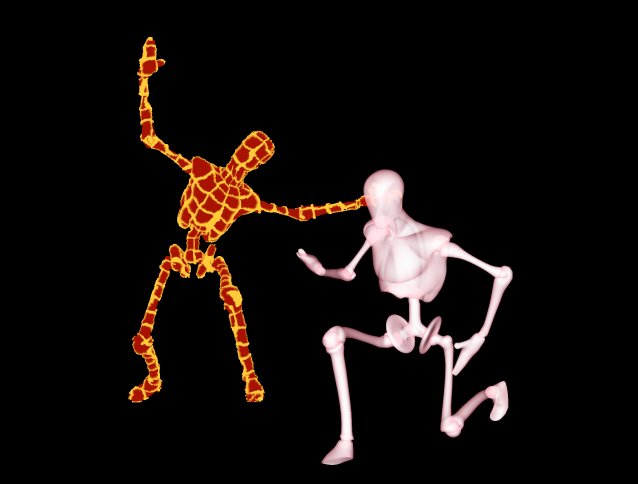
Toon ID: The toon ID of the frontmost surface, where each ID gets its own RGB color. Toon ID layers are identified by the letters ID in Photoshop. See Entering Toon IDs below.
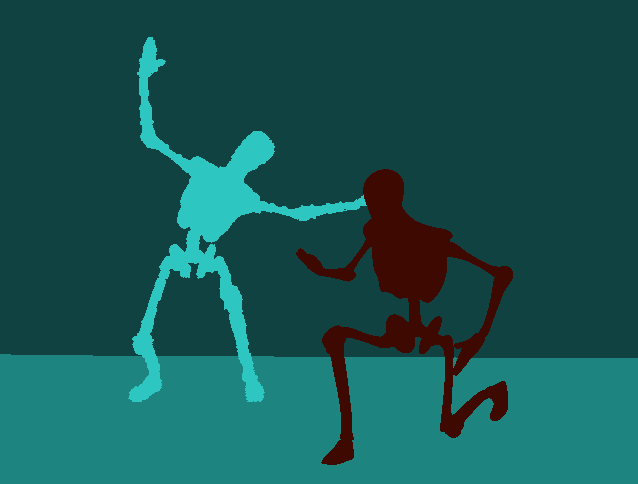
Toon ID layer in Photoshop.
ZDepth: The distance of the frontmost surface from the camera, encoded as grayscale. ZDepth layers are identified by the letter Z in Photoshop.
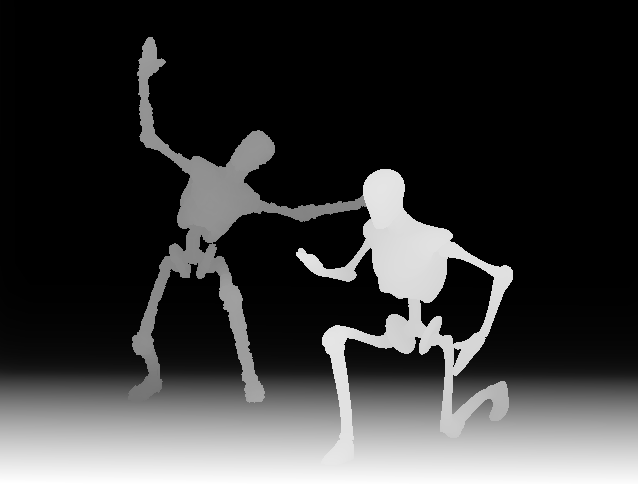
ZDepth layer in Photoshop.
Texture Coordinates: The UV coordinates of the frontmost surface, with u = red and v = green. Texture Coordinate layers are identified by the letters UV in Photoshop.

Texture Coordinates layer in Photoshop.
The remaining three options correspond to three inputs on the bottom of the Poser Surface Node as shown below.
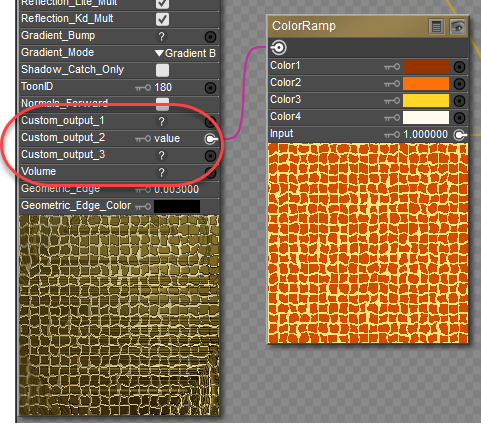
Custom Output connectors on the Poser Surface Node.
The render will export the nodes that are plugged into these inputs on the Poser Surface Node. If nothing is attached to the Poser surface node on these inputs, the output to PSD is as follows:
Custom Outputs are not supported in SuperFly.
Custom1: If your scene contains any materials that have connections to the Custom_output_1 connector on the PoserSurface Node, they can be rendered to a Photoshop layer when you check this option. If there are no materials with connections to Custom_output_1, checking this option will create a layer that contains Diffuse only.
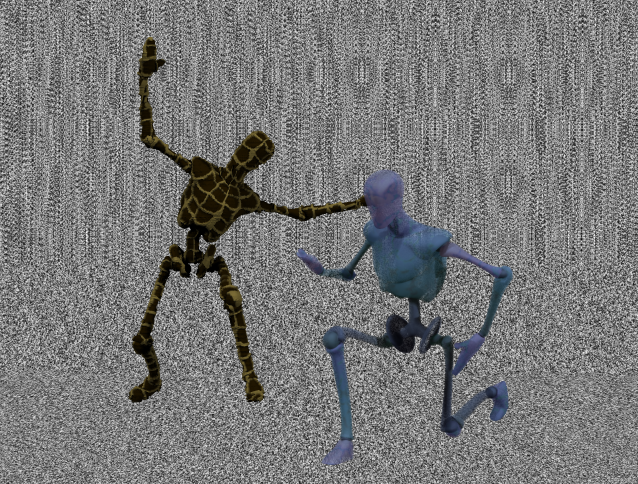
Custom 1 layer in Photoshop with grainy grayscale effect for custom input.
Custom2: If your scene contains any materials that have connections to the Custom_output_2 connector on the PoserSurface Node, they can be rendered to a Photoshop layer when you check this option. If there are no materials with connections to Custom_output_2, checking this option will create a layer that contains Specular only.
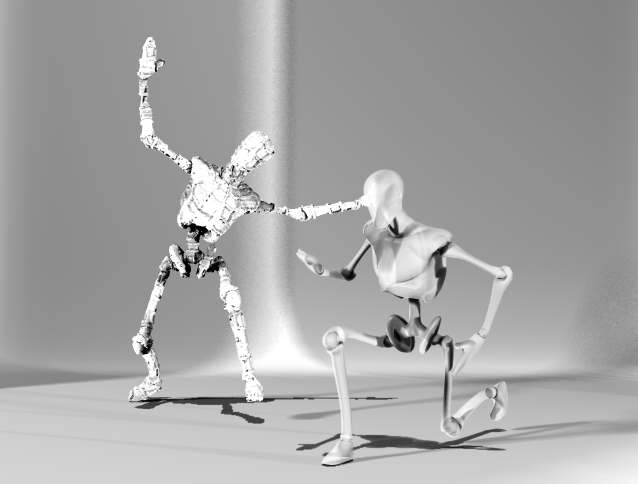
Custom 2 layer in Photoshop showing custom adjustments to the two characters in the scene.
Custom3: If your scene contains any materials that have connections to the Custom_output_3 connector on the PoserSurface Node, they can be rendered to a Photoshop layer when you check this option. If there are no materials with connections to Custom_output_3, checking this option will create a layer that contains Shadow only as shown below.
Custom 3 layer in Photoshop.
After rendering the desired layers, you can bring the saved PSD file into Photoshop, where you will be able to use blend styles in the Layers palette to composite the layers together to create interesting effects.

Various layers combined in Photoshop.
The Toon ID field in the PoserSurface node accepts values from 0 to 16777215, allowing you to specify any RGB color value. The values are direct Hexadecimal to Decimal conversions. The table below shows some common colors for examples. But you can use Poser's color picker or an image editing program to determine the RGB or Hexadecimal values for specific colors so that your Toon IDs are more predictable.
Here are values for some common colors:
|
Color |
RGB Value |
Hex Value |
Decimal (for Color ID) |
|
Black |
R0 G0 B0 |
000000 |
0* |
|
Blue |
R0 G0 B255 |
0000FF |
255 |
|
Green |
R0 G255 B0 |
00FF00 |
65280 |
|
Cyan |
R0 G255 B255 |
00FFFF |
65535 |
|
Red |
R255 G0 B0 |
FF0000 |
16711680 |
|
Magenta |
R255 G0 B255 |
FF00FF |
16711935 |
|
Yellow |
R255 G255 B0 |
FFFF00 |
16776960 |
|
White |
R255 G255 B255 |
FFFFFF |
16777215* |
*Entering 16777216 (one number higher than the White value) will wrap back around to 0 (the black value).
To find converters online, enter search terms RGB to Decimal or Hex to Decimal in Google search.