.png)
Welcome to your first step in mastering camera work inside Poser 13! This tutorial aims to explore some of the available camera types and how they shape your storytelling.
You can delve deeper into the many different cameras Poser offers and how they are used by referencing the online Poser Documentation.pdf starting on page 317.
You can delve deeper into the many different cameras Poser offers and how they are used by referencing the online Poser Documentation.pdf starting on page 317.
Camera Overview
Poser cameras offer many possibilities for storytelling whether through still images or animation but for this first installment we will be taking a look at how use of camera angles helps set up and frame your subject with intent.
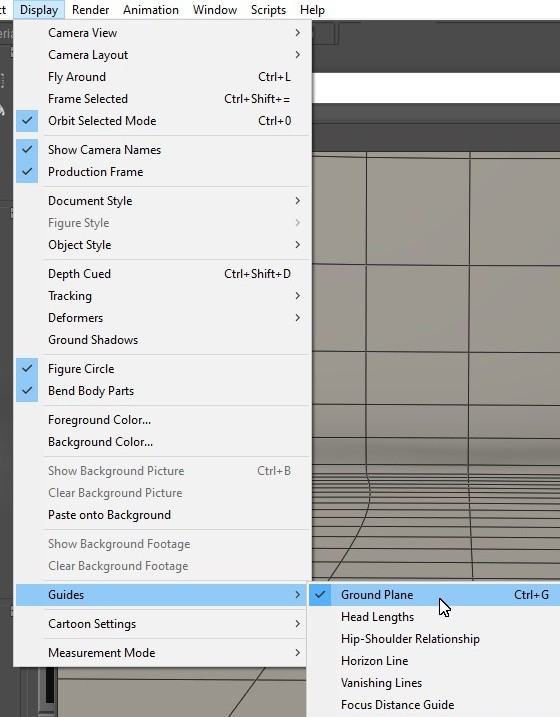
To better concentrate on our subject matter, the Ground can be hidden as shown in the image below.
Poser cameras offer many possibilities for storytelling whether through still images or animation but for this first installment we will be taking a look at how use of camera angles helps set up and frame your subject with intent.
To better concentrate on our subject matter, the Ground can be hidden as shown in the image below.
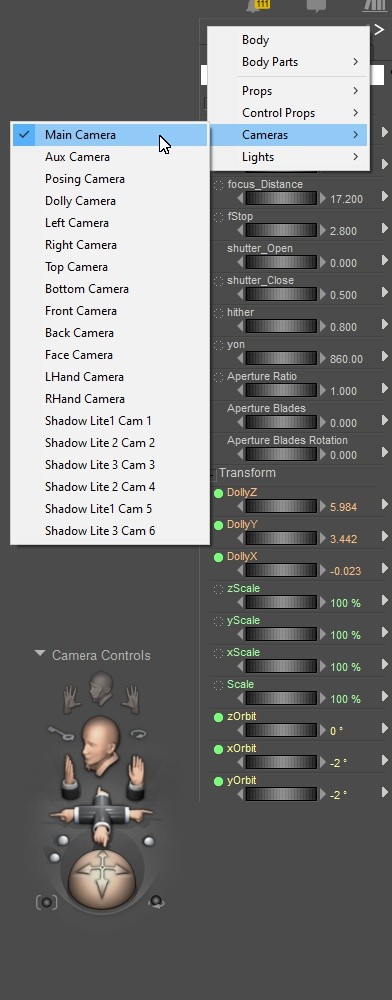
Let's define four basic types of cameras that will help even a beginner set up a scene.
The Main Camera serves as your go-to viewpoint for building and composing scenes, ideal for general layout and framing.
For close-up emotional work, the Face Camera automatically locks onto the character’s face, making it perfect for studying expressions and crafting intimate portraits.
Auxiliary Cameras provide customizable extra views, allowing you to explore alternate angles and plan dynamic scenes.
LeftHand or RightHand Cameras provide further detailed views, allowing you to correctly pose, position and place character's hands and/or objects they may be holding.

You can easily navigate all cameras whichever way suits you best.
If you haven't been taking advantage of all the possibilities cameras in Poser offer, try doing this. Set up a scene with or without a character and toggle through each camera type. You will get a better understanding of what each angle highlights and this can help you plan your renders. Don't forget that cameras can be saved and these presets can be reused across scenes for consistency and speed!
Camera Angles and Emotional Tone
Camera angles don’t just show — they feel. By tilting, towering, or sneaking behind your subject, you tap into emotion, narrative depth, and dynamic perspective. Let's take a look at 4 foundational angles to evoke specific moods.
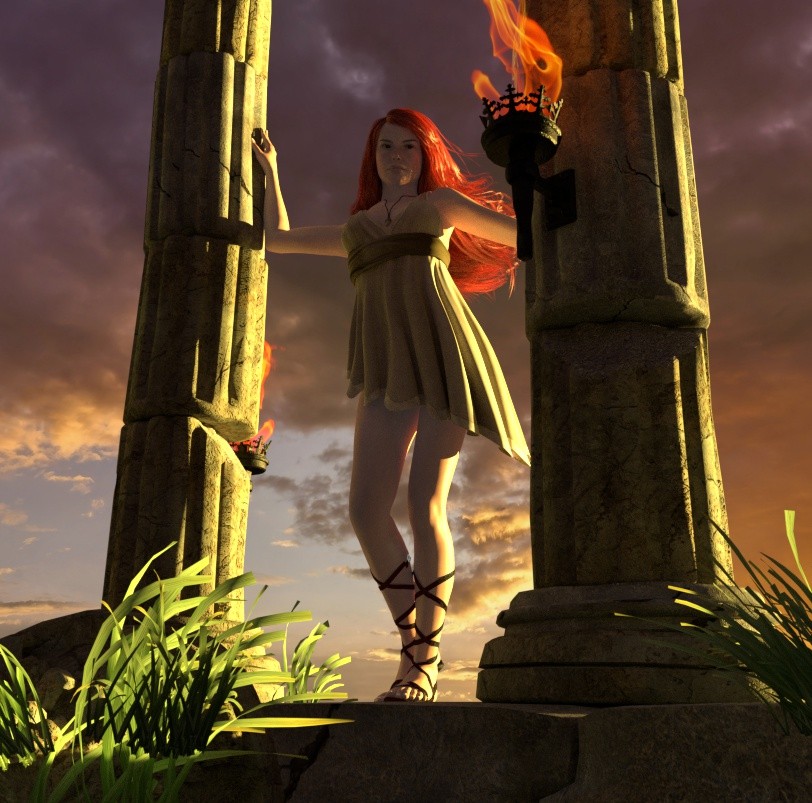
Low Angle - Power and Dominance
By tilting the camera upward the image will exude strength and confidence which is perfect for hero shots or dramatic effect.
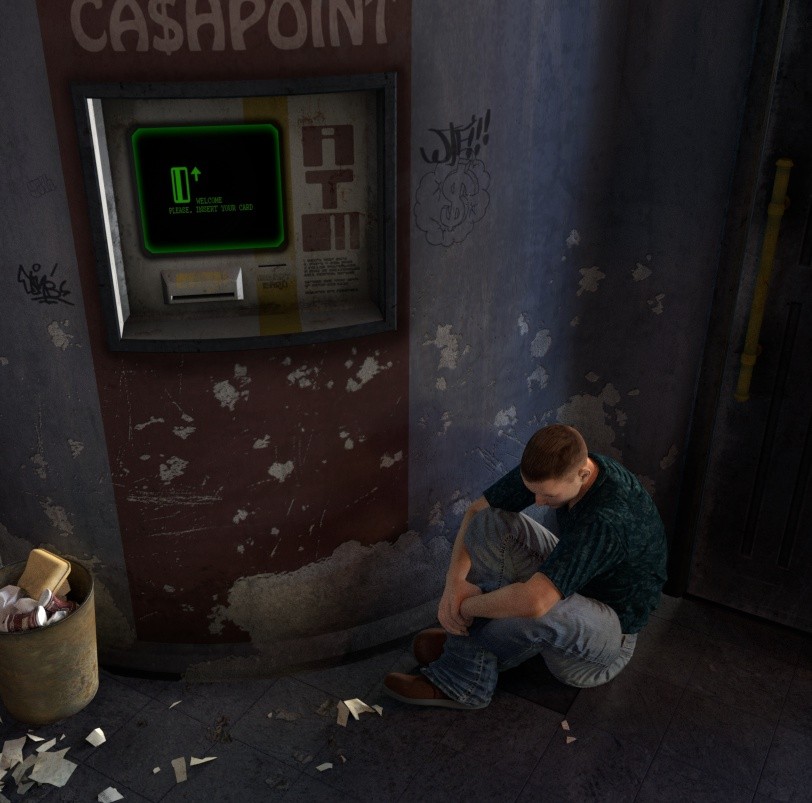
High Angle - Vulnerability and Overview
When the camera is tilted downwards it creates a mood of weakness or defeat or sometimes used to exaggerate scale. This can have multiple uses such a danger, desperation or even just quiet introspection.
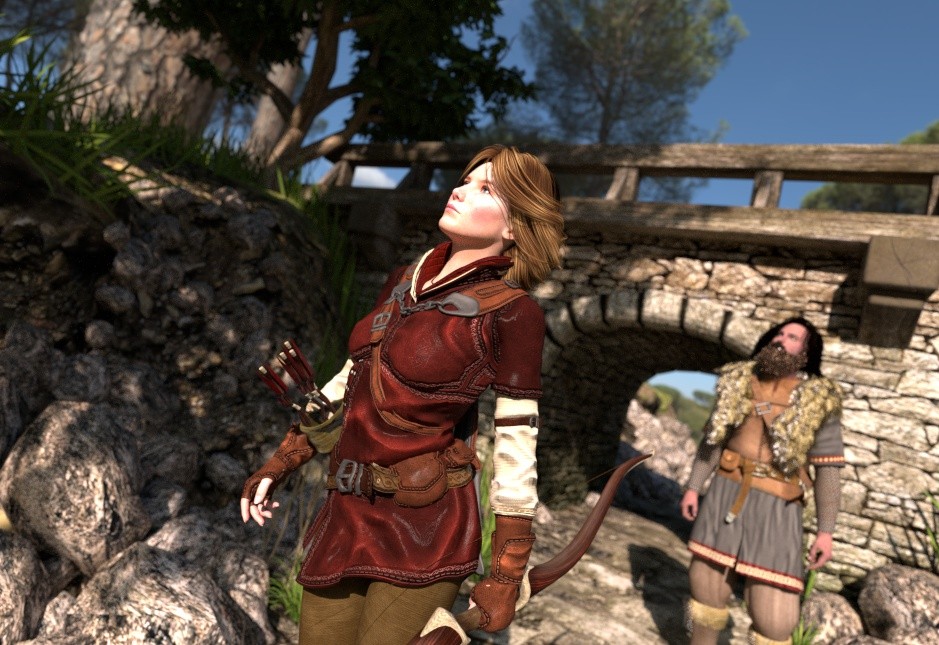
Dutch Tilt - Unease and Energy
A slight diagonal rotation can signify suspense but can also be used to create chaos. This is especially useful in action scenes or when portraying any type of conflict.
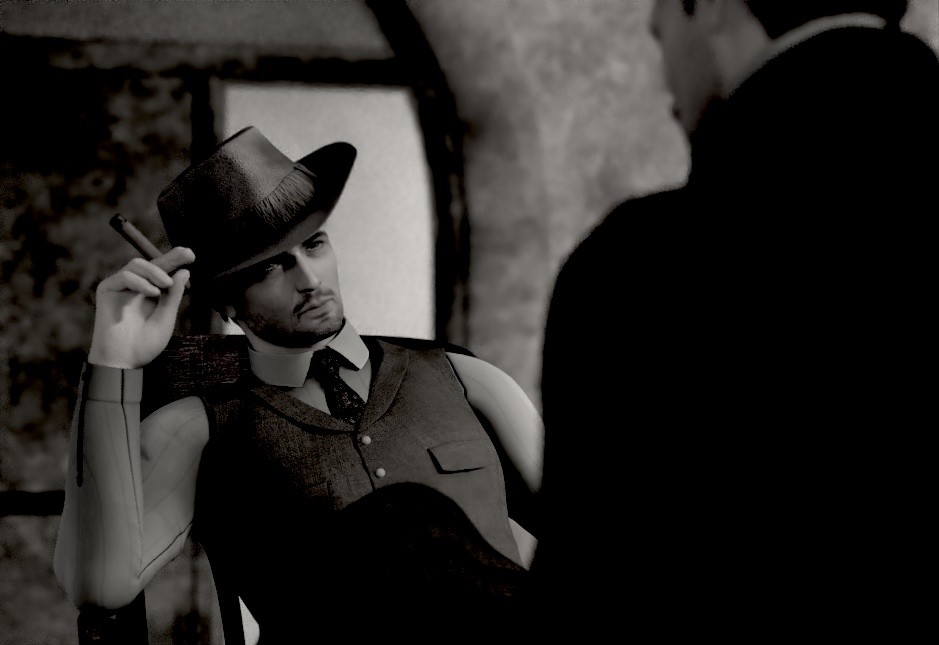
Over-the-Shoulder - Intimacy and POV
Framing of this kind where the camera is behind a character is effective in showing connection in storytelling or arousing curiosity. Try using it when your characters are in a conversation or confrontation.
Of course lighting, DOF and other factors will enhance your renders even further so stay tuned for more!