Step One: Defining Hair Groups
Skullcap props for Ryan and Alyson and other figures have hair props pre-created. You can use the grouping tool to spawn props for this purpose too.
If you want to be able to use the hair you are creating for other figures, please refer to Adding Strand-Based Hair to the Library Palette for more information before proceeding.
The first step in creating strand-based hair is to define one or more group of polygons as a hair group. A hair group is a cluster of polygons that has been defined as an area on which hair will grow. A prop or skullcap can contain more than one hair group. For example, you can create multiple growth groups on a skull cap or hair prop to create a part in the hair; or small sections of a conforming hair prop, or a smart hair prop can be detailed with wisps of hair.
Please refer to Using the Group Editor for a general discussion about groups.
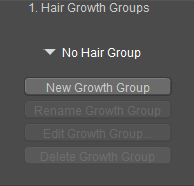
Hair Growth Group settings.
To do this:
- Select the object you wish to grow hair on.
- Click the New Growth Group button in Area 1 of the Hair room to create a new group called Hair_1 by default. Subsequent hair groups are numbered sequentially (Hair_2, etc.). You can rename groups by entering a new name in the New Growth Group Name box that appears. Click OK to proceed or Cancel to abort.
- Click the Edit Growth Group button to enable the Grouping tool and open the Group Editor palette. Be sure that you have the correct hair group selected before selecting polygons for the group. Please refer to Creating/Editing Groups for information about using the grouping tools.
- Select the polygons you wish to include in the hair group you are creating.
You can create as many growth groups as you like, such as head hair, mustaches, beards, chest, back, etc.
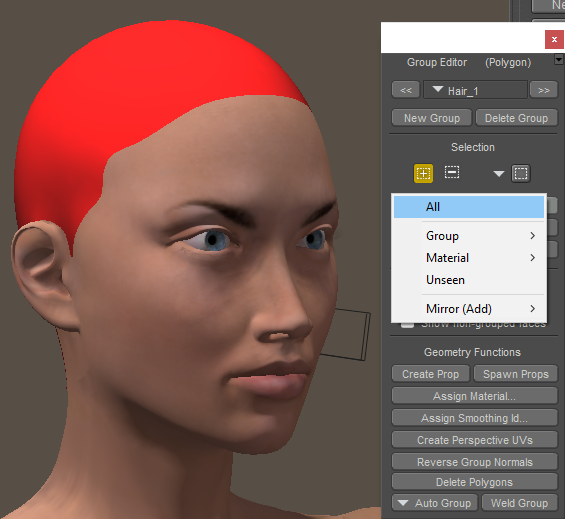
Assigning polygons to a hair group.
Be sure that you have the correct hair group selected in the Group Editor palette before selecting polygons for the group!