Adding Items to the Library
The following section provides some notes on saving content in general.
Saving an item to the Library palette adds the appropriate item to the currently selected category/subfolder. The actual file location of your saved item will display along the bottom of the Library palette when you select the item by clicking on its preview image once it has been added to the Library. In addition, when you save content to the Library, a basic set of metadata is saved along with the object. This metadata appears in the Library’s Extended Details panel when it is displayed. For more information about the Extended Details panel and metadata, see Adding Extended Details to Library Content.
To add an item to the Library palette:
- Select your desired category/subcategory.
- Click the Save to Library icon (+) at the bottom of the Library palette.
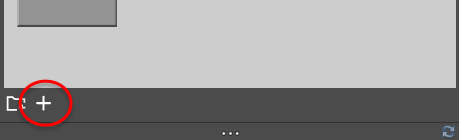
Save to Library button.
- Complete the dialog that follows (see following subtopics for information on category-specific dialogs).
- Enter a name for the new Library palette item and click OK. You may be prompted to select a subset of actors for inclusion in the saved item, depending on the item type being saved (poses, expressions, props, lights, cameras or material collections). Please refer to the following sub-topic for information on selecting actors.
- Depending on the Library palette category being saved to, you may be asked if you wish to save additional information.
- When saving poseable figures to the Characters library, you will be prompted to enter a name for the library item. After entering the name you will be prompted to choose which geometry file the entry will use. Choose A new geomtry file saved with the library to save the geometry file in the same folder as the CR2. The geometry OBJ file will be named the same as the library item. Choose The original figure geometry file (Content Developers Only) to reuse the OBJ reference that is already present in the file.
- When saving Poses, you will be asked if you want to include morph channels (such as facial expressions, muscle bulges, etc.), body transformations (trarnsformed body parts, for example), and scales.
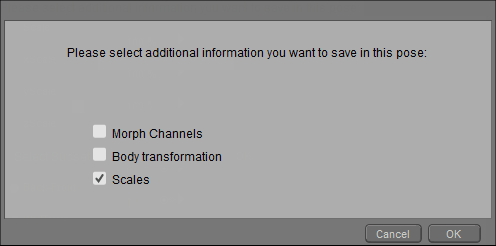
Additional information for poses.
- Saving morph channels will preserve all adjustments you might have made to any morph target parameters. You may also be asked whether you wish to save Body transformations; this option will preserve any modifications to parameters on the “Body” actor. Custom parameter palettes are discussed further in Creating Custom Parameter Palettes. Graphs are discussed in Using Graphs.
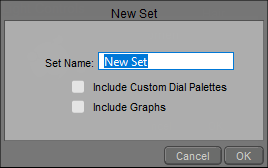
When saving content, you may be prompted for additional information to be saved.
You need to take care when saving morph channels and body transformations with poses that you will distribute to others. If your pose is designed as a regular pose that reposes the figure (for example, from standing to sitting), in most cases you do not want to include body transformations or morphs that will affect the settings of the figure that is in another user’s scene. On the other hand, if your pose is meant to set morph targets for a custom figure, you want to include morph channels in the pose set. Consider using the File > Export > Morph Injection command in Poser to save poses that inject character morphs. For more information, see Saving Morph Injection Poses.
- Poses and Faces can save animated data (such as an animated pose like swinging a golf club). To select only the current frame, select Single Frame. To save more than one frame of animation, select Multiple Frames and enter your desired starting and ending frame numbers. If you are adding an animated pose that includes animation layers, the Select Layers button will be enabled. Clicking this button opens the Select Layers dialog, which allows you to specify which layer(s) you wish to save with the pose. Click OK when you have finished making your selections.
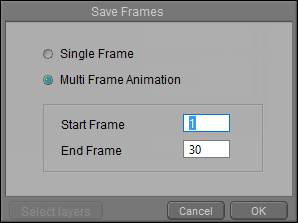
Poses can be saved as still poses (a single frame), or as animated poses (multiple frames).
Your new item will be added to the Library palette and will be accessible whenever Poser is running. Poser also automatically generates an editable .PNG format preview image based on Camera position. You can make a better preview image by positioning the camera to focus on the item you’re saving.
To add dynamic cloth to the Library palette, add it as you would any other prop. For strand-based hair objects, you must either save a Poser scene file (PZ3) with your hair object in it or grow hair on a prop and save that prop to the Library palette.