Using the Animation Palette
The Animation palette contains three tabs: the Keyframes tab, the Layers tab, and the Animation Sets tab. Each of these tabs will be described in detail in the following sections. To display the Animation palette, you can either select Window > Animation Palette, or click the Display Animation Palette button in the Animation controls as described above. To close the palette, either select Window > Animation Palette again, or click the small box in the upper left corner.
The upper section of the Animation palette contains several controls that appear on all three tabs. These are as follows:
Common Controls
Several controls and options are common to all of the tabs in the Animation Palette. These options are discussed below.
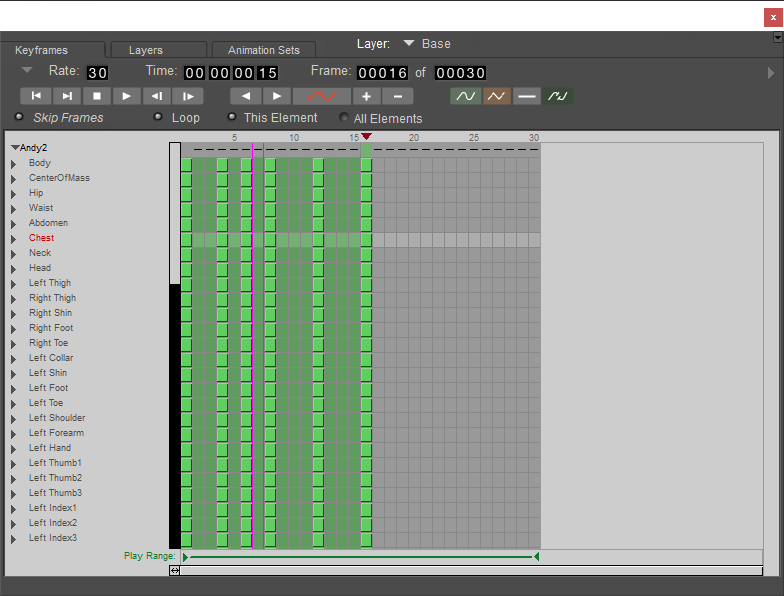
The Animation Palette.
You can resize the grid in the Animation Palette, making the keyframes wider or narrower, by clicking and dragging the resize button (below the text that reads Play Range as shown in the following figure). Drag left to make the grid narrower, or toward the right to make the grid wider.

Resizing the grid.
Current Layer
The Current Layer pop-up menu appears at the very top of the Animation palette. This menu allows you to select a specific animation layer within the current animation. Please refer to Current Layer for more information about animation layers.
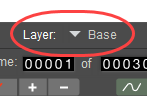
Current layer.
Frame Rate
The frame rate specifies the number of frames played per second. To change the scene frame rate, you can either click the current frame rate and enter your desired number in the text box that appears or click the arrow to the left of the current frame rate and make your selection from the Frame Rate pull-down menu. Choices are 12, 15, 18, 24, 25, 30, 50, and 60 frames per second.
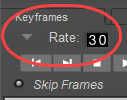
Frame Rate options.
Some common frame rate settings are:
- NTSC: 30
- PAL: 25
- Film: 24
For Poser integration into other apps, the user will need to determine the frame rate to match that of the hosting software. The default frame rate in Poser is 30 fps, but other applications might use 24 fps. Users will need to create a file with the same frame rate. This needs to be handled specially for each app.
You can also set the output frame rate using the Movie Settings window (Rendering Animations). This setting is independent from your scene frame rate, as specified in the Animation palette (see above). Additionally, you can generate a quick preview render by specifying the Every N-th Frame setting in the Movie Settings window. Again, this setting is for output purposes only, and is independent of your scene frame rate.
Time
The Time control displays the amount of time in your animation between the first frame and the currently selected frame. Time is displayed in SMTPE format (Hours:Minutes:Seconds:Frame). You can jump to a specific point in time by entering your desired numbers in the fields. For example, if you jump to 1 minute in an animation using 24 frames per second, you’ll arrive at Frame 1440 (24 frames/sec times 60 seconds).
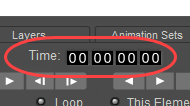
Time indicator.
Frame
The Frame Indicator is identical to its counterpart in the Animation controls. You can jump to a specified frame and add or remove frames from your animation as described in Timeline/Frame Indicator.
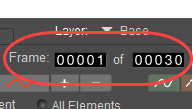
Frame indicator.
Play Controls
The Play controls are identical to their counterparts in the Animation controls. See Play Controls for more information.
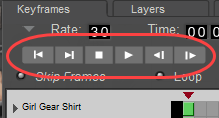
Play controls.
Play Range
By default, the entire animation plays when previewing animations using the Play controls. You can, however, opt to view only a portion of your animation during preview. This feature is useful if you have a long animation and only want to focus on small portions at a time. The Play Range indicator appears at the bottom of all three tabs on the Animation palette. To adjust the play range, drag the beginning and/or end point to your desired starting and ending frames, respectively.

Play Range.
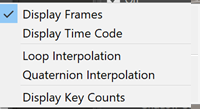
Animation Palette Options Menu
Clicking the Options arrow at the top right of the Animation Palette opens the Animation palette Options menu, which contains the following options:
Animation Palette options menu.
- Display Frames: Selecting the Display Frames option toggles the Timeline columns to display using animation frames.
- Display Time Code: Selecting the Display Time Code option toggles the Timeline columns to display, representing your animation’s running time.
- Loop Interpolation: Selecting the Loop Interpolation option toggles loop interpolation on and off.
- Quaternion Interpolation: Selecting the Quaternion Interpolation option toggles quaternion interpolation on and off.
- Display Key Counts: Shows or hides alpha-numerical indications of the number of keyframes used in each actor.

Key Counts