.png)
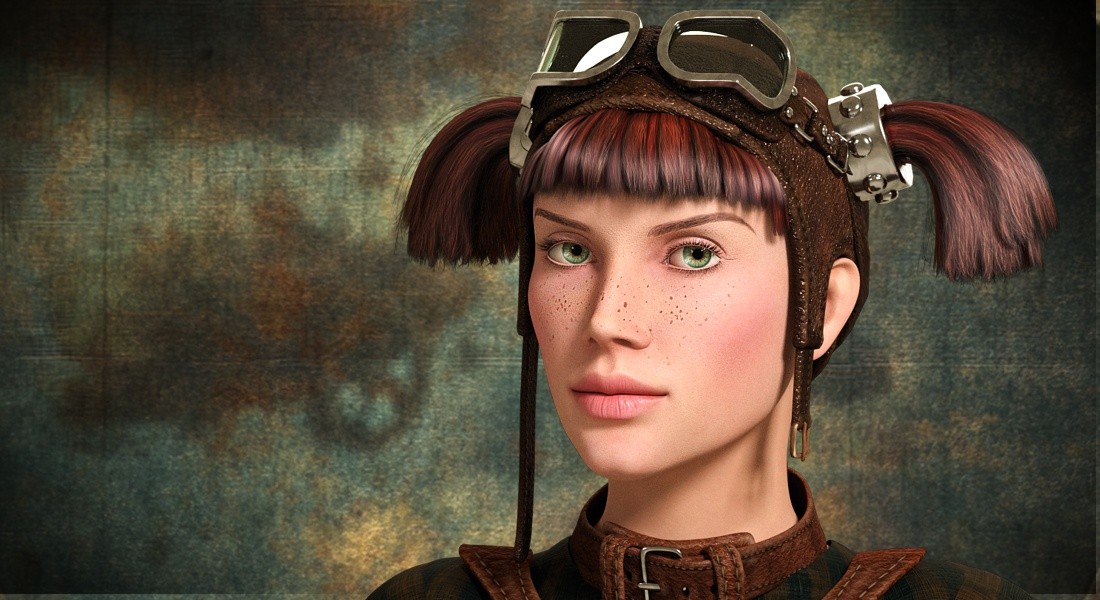
Many of us purchase and use character sets—morphs and textures included—because they’re easy to work with. Often, we personalize these characters by tweaking the morph dials or altering the texture maps directly. But what if I told you there’s an even easier way to create unique characters with far less hassle? Poser’s material layers feature lets you add all sorts of details to your character’s materials and textures without permanently changing the original files.
Imagine your hero has been through a brutal battle—you can now show scars to prove it. Or perhaps your villain’s dastardly bomb exploded prematurely, leaving them covered in soot. Maybe that once-beautiful dress has seen better days, and you want to breathe new life into it by adding a delicate embroidered design.
Imagine your hero has been through a brutal battle—you can now show scars to prove it. Or perhaps your villain’s dastardly bomb exploded prematurely, leaving them covered in soot. Maybe that once-beautiful dress has seen better days, and you want to breathe new life into it by adding a delicate embroidered design.
Material layers make all of this possible, and the best part is that once you create a layer, you can reuse it on any texture that shares the same UV mapping. For instance, if your character La Femme gets a new tattoo, you only need to create the tattoo once and apply it to any of her textures with matching UVs, eliminating the need to manually edit every texture map.
Let’s walk through a simple example where we add freckles to a character.
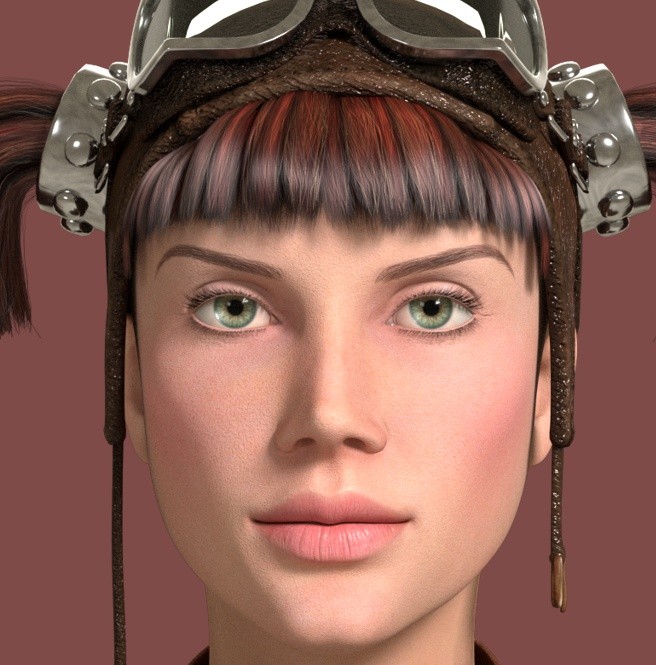
First, you’ll want to use a texture or a template to guide where your freckles should go. Make sure you use an image editor that supports layers, such as Photoshop or GIMP. Create the freckles on a separate layer, leaving the background on its own layer.
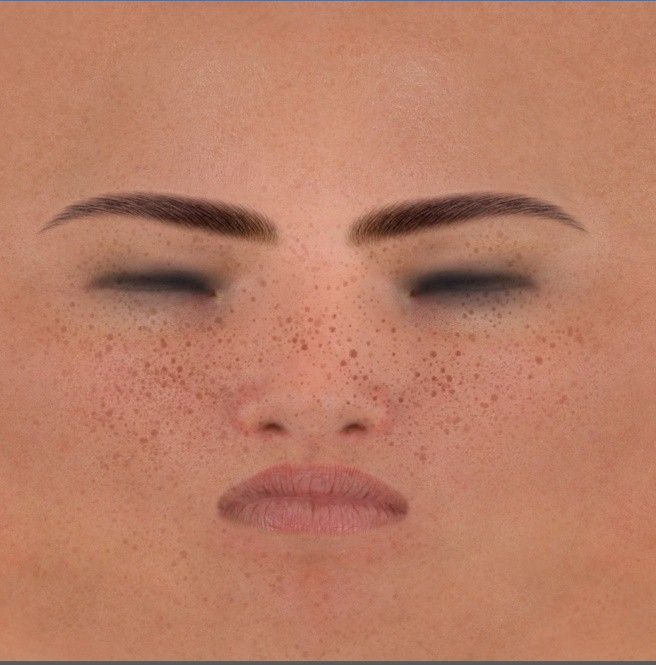
You can fill this background either with black or white—black is usually better if you want to create a transparency map (also called a transmap or alpha), but white makes it easier to see the freckles clearly during editing.
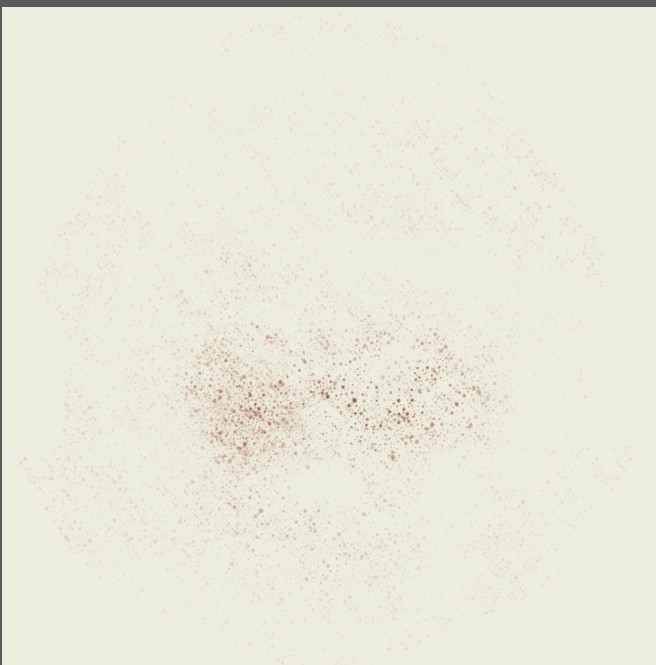
Next, you need to create the transmap, where the background must be black to ensure transparency, and the freckles themselves are white to make them visible. The easiest way to achieve this is by adjusting hue and saturation on your freckles layer: first desaturate the image to remove color, then increase the brightness until the freckles stand out against a dark background.
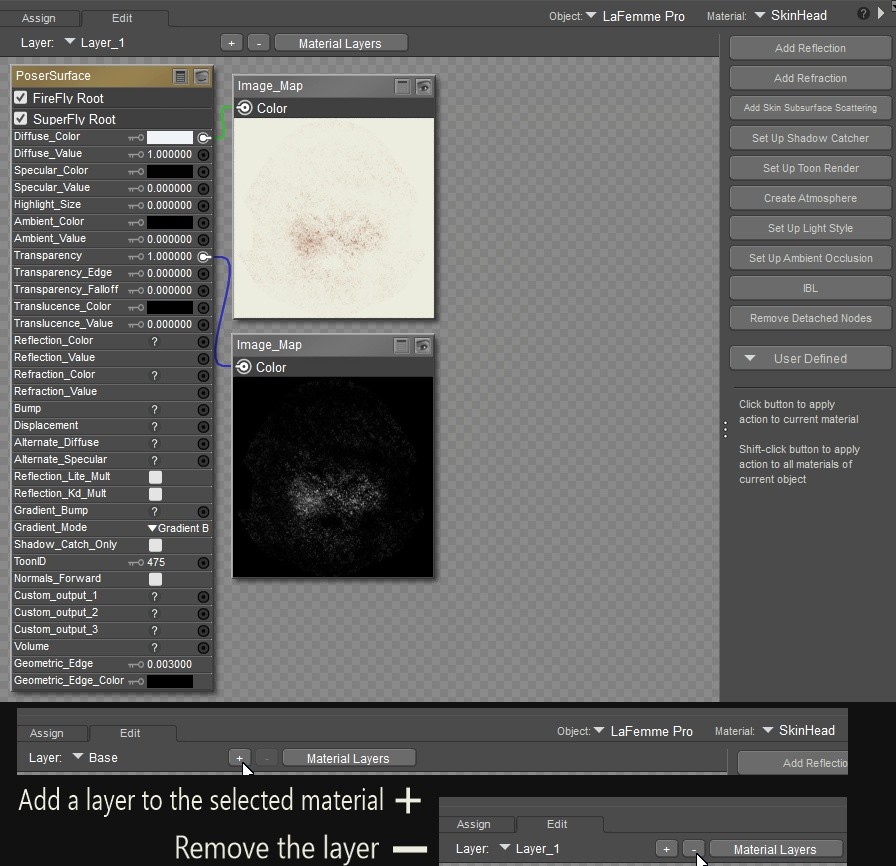
Now, head back into Poser’s Material Room. Select the material you want to apply the freckles to—in this example, that’s SkinHead.
At the top, you’ll see a plus sign next to current layer which will most likely be "Base". Clicking this adds a new layer on top of the base texture.
For most purposes, a simple transparency setup will do, and for this example, I removed highlights and specularity to keep the freckles looking natural. Feel free to use any root node you like; you’re not restricted to Poser’s default.
Removing a layer is just as easy. Select the unwanted layer and click the minus sign, and voila—it’s gone!
Keep in mind that these layers might not appear in the Preview window, so you’ll need to do a full render to see how your changes look. If you want different effects, you can always tweak your diffuse and transparency maps accordingly.
The real beauty of material layers is that you can now use your freckle design across all La Femme textures, saving you from painstakingly editing each one individually.

You can also add multiple layers for different effects. For example, add dirt and grime after your character emerges from a dark, mysterious mine, and then easily remove it after they enjoy a refreshing swim in the lake. This flexibility makes material layers an incredibly convenient way to add rich details that support your storytelling.
Now that you’ve got the hang of material layers, go ahead and give them a whirl! It’s a smart, fun way to add personality and detail without drowning in texture edits. Experiment, play around, and watch your characters transform with all the little touches that bring them to life. You might just wonder how you ever lived without it.
Just a quick heads-up: this handy feature only works with Superfly rendering in Poser. If you’re using Firefly or another engine, you’ll need to stick to traditional texture editing methods.