.png)
There’s a special thrill in constructing a large, multi-prop scene in Poser. Whether it’s a sprawling fantasy city, a richly detailed interior, or a cinematic still life, these ambitious projects invite your imagination to run wild. You’re not just placing objects—you’re building worlds, crafting stories, and setting the stage for visual drama.
But with that excitement comes a familiar challenge: how do you stay in control when your viewport starts to feel like a maze? When props pile up, render times crawl, and your creative flow gets tangled in technical knots, it’s time to shift gears—from reactive to strategic.
But with that excitement comes a familiar challenge: how do you stay in control when your viewport starts to feel like a maze? When props pile up, render times crawl, and your creative flow gets tangled in technical knots, it’s time to shift gears—from reactive to strategic.
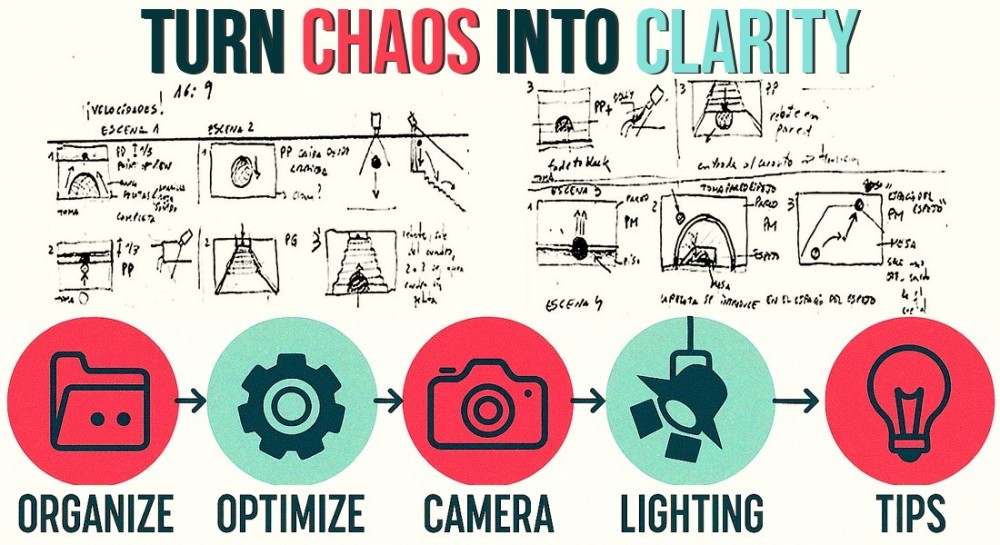
Scene Setup & Organization
The secret lies in planning and structure. Think of your scene like a stage production: every prop has a role, every light a purpose, and every camera a point of view. Before you even load a single item, sketch out your layout or storyboard the action. This gives you a roadmap and helps you avoid unnecessary clutter.
Once inside Poser, organization becomes your lifeline. Rename props with clear, descriptive labels—“Chair_Left,” “Window_Group,” “Street_Lamp”—so you’re not hunting through a sea of “Prop_001.” Create groupings of related items to move them as a unit and make item placement easy and quick. And keep your hierarchy panel open at all times—it’s your backstage map, guiding you through the complexity with clarity.
Once inside Poser, organization becomes your lifeline. Rename props with clear, descriptive labels—“Chair_Left,” “Window_Group,” “Street_Lamp”—so you’re not hunting through a sea of “Prop_001.” Create groupings of related items to move them as a unit and make item placement easy and quick. And keep your hierarchy panel open at all times—it’s your backstage map, guiding you through the complexity with clarity.
Performance Optimization
Big scenes can push even powerful machines to their limits, so optimizing performance is essential. Hide props you’re not actively working on to reduce viewport load. Switch the Display Style in polygon-heavy models from Texture Shaded to Smooth Shaded or even Cartoon display while positioning them—it’s a simple trick that makes a big difference.
If your textures are high-res, consider working with lower-resolution versions during setup. You can always swap them back in for final renders. And don’t forget to save incremental versions of your file. It’s a habit that protects your progress so you can have a fallback if something goes wrong, which gives you the freedom to experiment without fear.
If your textures are high-res, consider working with lower-resolution versions during setup. You can always swap them back in for final renders. And don’t forget to save incremental versions of your file. It’s a habit that protects your progress so you can have a fallback if something goes wrong, which gives you the freedom to experiment without fear.
Camera & Navigation
Cameras are more than tools—they’re your audience’s eyes. Instead of relying on a single viewpoint, create multiple cameras tailored to different areas of your scene. Lock them once they’re set to avoid accidental shifts, and use auxiliary cameras to explore alternate angles without disturbing your main composition.
This approach turns navigation into storytelling. You’re not just arranging props—you’re directing attention, guiding emotion, and shaping the viewer’s experience.
This approach turns navigation into storytelling. You’re not just arranging props—you’re directing attention, guiding emotion, and shaping the viewer’s experience.
Lighting & Atmosphere
Lighting is where mood and meaning begin. Don’t wait until the end—block out your key lights early to see how they interact with your props and environment. This helps you build a cohesive composition and avoid surprises during rendering.
Save reusable light sets to speed up future projects, and use cropped test renders to fine-tune your lighting without waiting on full-scene output. A little foresight here can save hours later.
Save reusable light sets to speed up future projects, and use cropped test renders to fine-tune your lighting without waiting on full-scene output. A little foresight here can save hours later.
Workflow Tricks
Modularity is your best friend in complex scenes. Build detailed areas—like a marketplace, a living room, or a forest path—in separate Poser files, then import them into your master scene. This keeps your workflow clean and lets you focus on one section at a time.
Save subsets of frequently used arrangements in your library. For example, a cluster of parked cars can be dropped into any street scene with minor tweaks, or a furniture set can be reused across multiple interiors. These reusable building blocks speed up your process and maintain consistency across projects.
Save subsets of frequently used arrangements in your library. For example, a cluster of parked cars can be dropped into any street scene with minor tweaks, or a furniture set can be reused across multiple interiors. These reusable building blocks speed up your process and maintain consistency across projects.
Approach your scene like a director. With structure and intention, complexity transforms into clarity. You’re not just placing props—you’re composing a performance. Every light, every angle, every asset contributes to a render that breathes with life and story
So go ahead—build big. Just build smart!
So go ahead—build big. Just build smart!