.png)
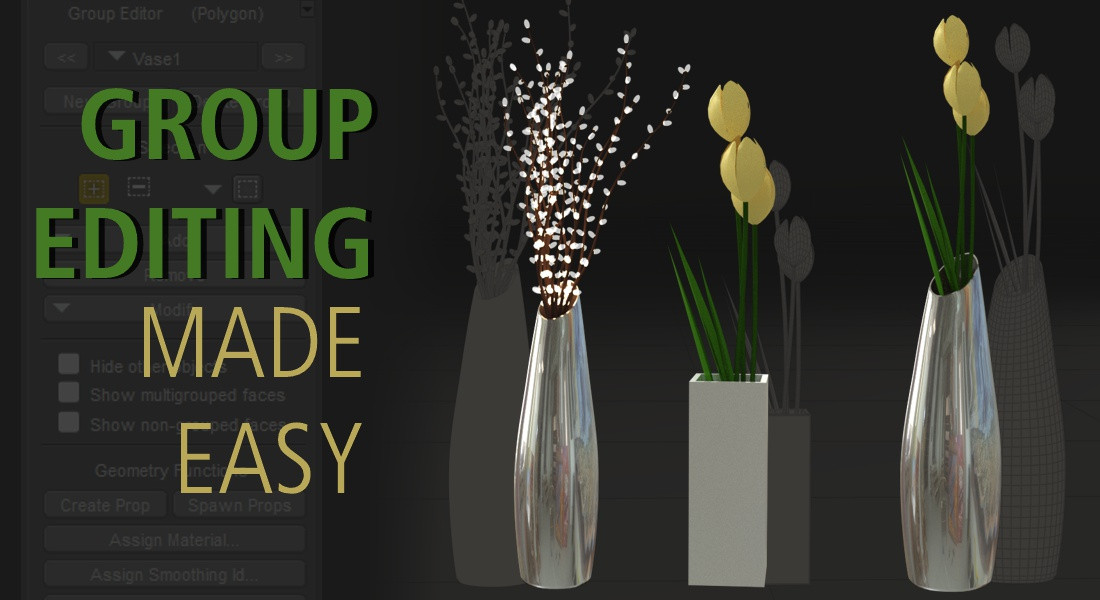
The Group Editor is one of Poser’s most powerful built‑in tools, giving you the ability to handle a wide range of tasks without ever leaving the application.
It’s especially helpful for creating material groups, hair groups, cloth groups, body parts, and props which makes it a versatile companion for both everyday workflow and creative experimentation.
You can even build new props or reshape selected portions of an element. For instance, you might select the polygons around a character’s eyes, nose, and forehead and turn that selection into a custom mask prop.
A full, detailed explanation of the Group Editor and its capabilities can be found in the Poser Reference Manual, and users who are new to the tool are encouraged to review that section here.
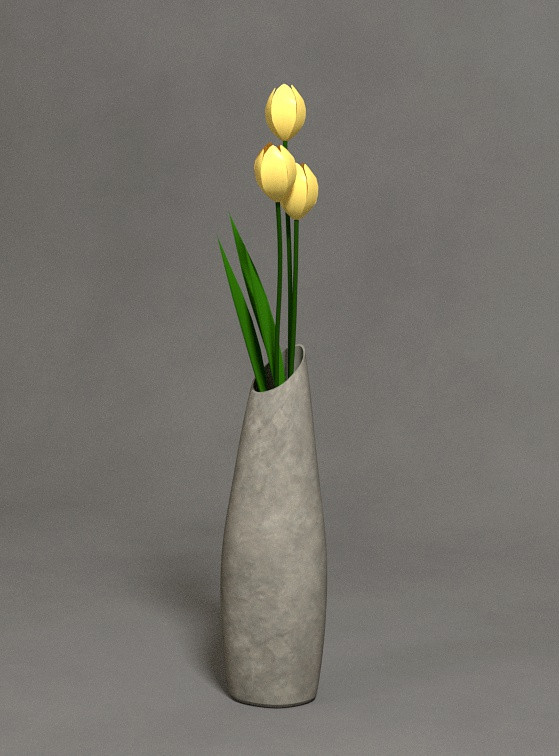
This tutorial, however, focuses on the fun, creative side of the Group Editor. You’ll learn how to extract parts of props or figures and combine them with others to create something entirely new. Read on and follow along!
The two props used in this tutorial are from the Modern Apartment - Bedroom which is included in the content that comes with Poser. If you've installed it, you'll find it in the Runtime Included under Props/Interior Sets/MABedroom


1. Bring in both props and position them how you like. You'll notice there's a considerable difference in size, but this will be dealt with later.
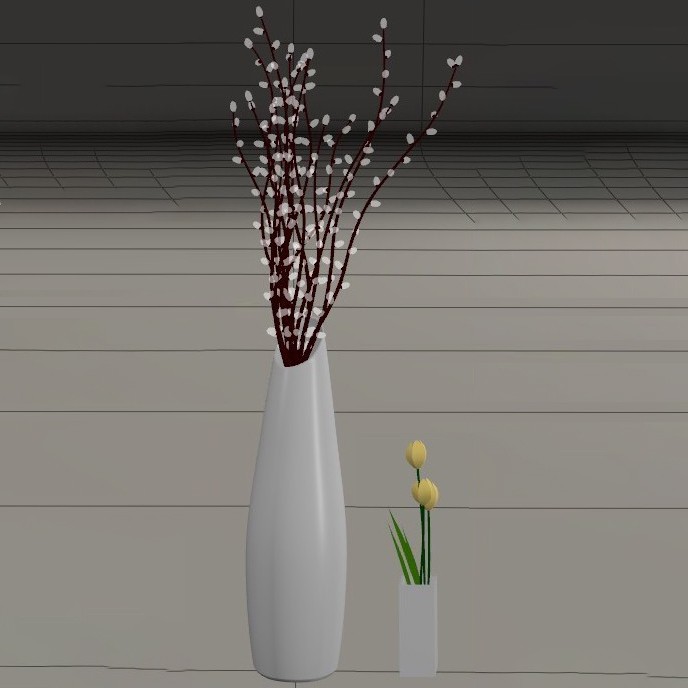
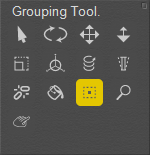
2. Select the tall vase and open the Grouping Tool.
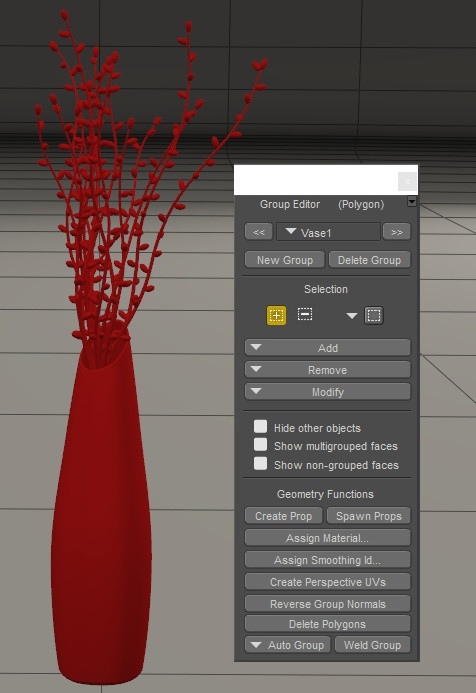
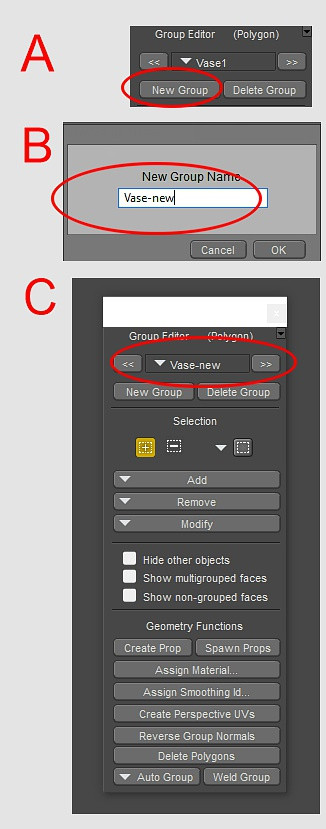
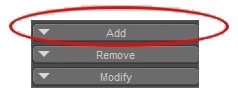
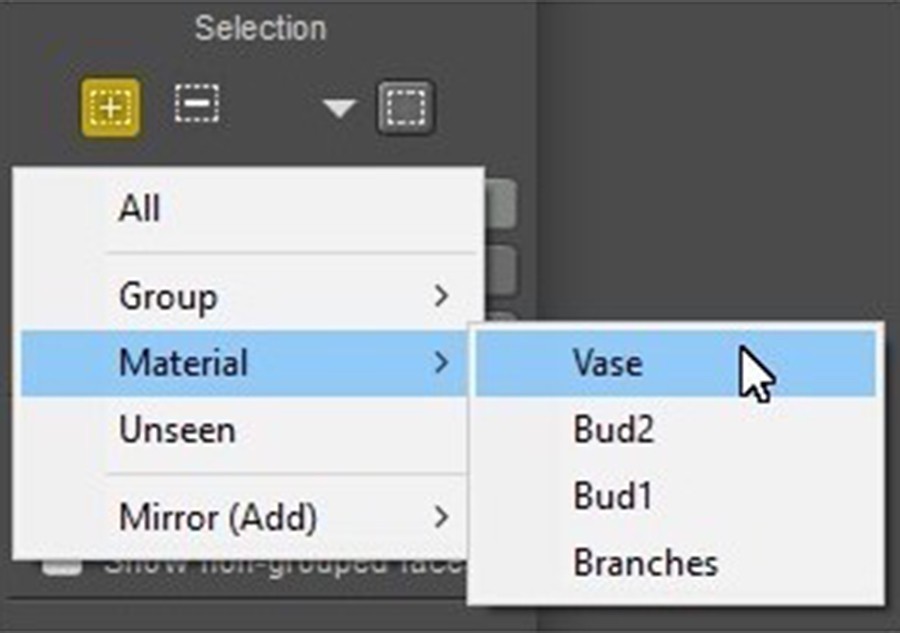
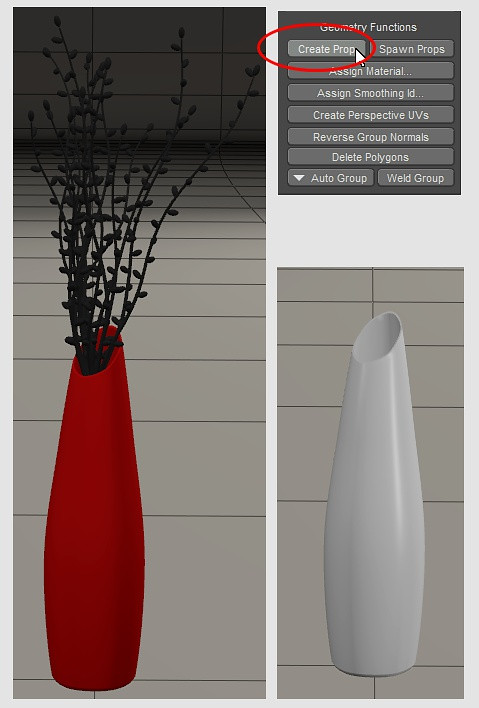
5. The selected material shows as red in the Group Editor. All that is necessary in order to extract this part of the prop is to click on Create Prop, and a new prop will be spawned. You can delete or make the original prop invisible and see the new prop. When the Group Editor is closed, you will see that it has retained all the original settings and textures for that material zone.
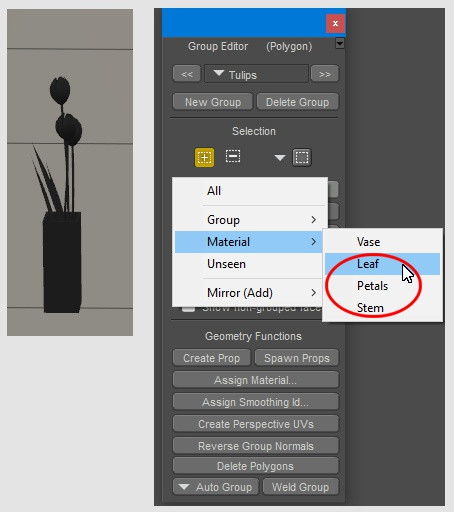
6. After selecting the second vase with the tulips and opening the Group Editor, just follow steps 3-5 to extract the flowers. Make sure in step 4 to select all the material zones associated with the tulips. In this case there are 3 materials you need to include: Leaf, Petals and Stem.