.png)
Composition: The Backbone of Every Great Portrait
Every stunning portrait begins with strong composition. Mastering how to frame your subject can transform a simple image into something truly captivating. In this article, we’ll focus on one of the most powerful tools in your creative arsenal: the Rule of Thirds—and how it can transform your portrait work.
What Is the Rule of Thirds?
Think of the Rule of Thirds as your secret ingredient for dynamic visuals. Picture your frame divided into a 3x3 grid—two horizontal and two vertical lines slicing the image into nine equal parts. The magic happens when you place key elements along these lines or at their intersections. Avoiding the dead center creates visual tension and balance. For example, placing the horizon on the top or bottom line or positioning a subject at an intersection point adds instant appeal. It’s a simple trick that makes your renders feel intentional and alive.
Think of the Rule of Thirds as your secret ingredient for dynamic visuals. Picture your frame divided into a 3x3 grid—two horizontal and two vertical lines slicing the image into nine equal parts. The magic happens when you place key elements along these lines or at their intersections. Avoiding the dead center creates visual tension and balance. For example, placing the horizon on the top or bottom line or positioning a subject at an intersection point adds instant appeal. It’s a simple trick that makes your renders feel intentional and alive.
Using It in Poser
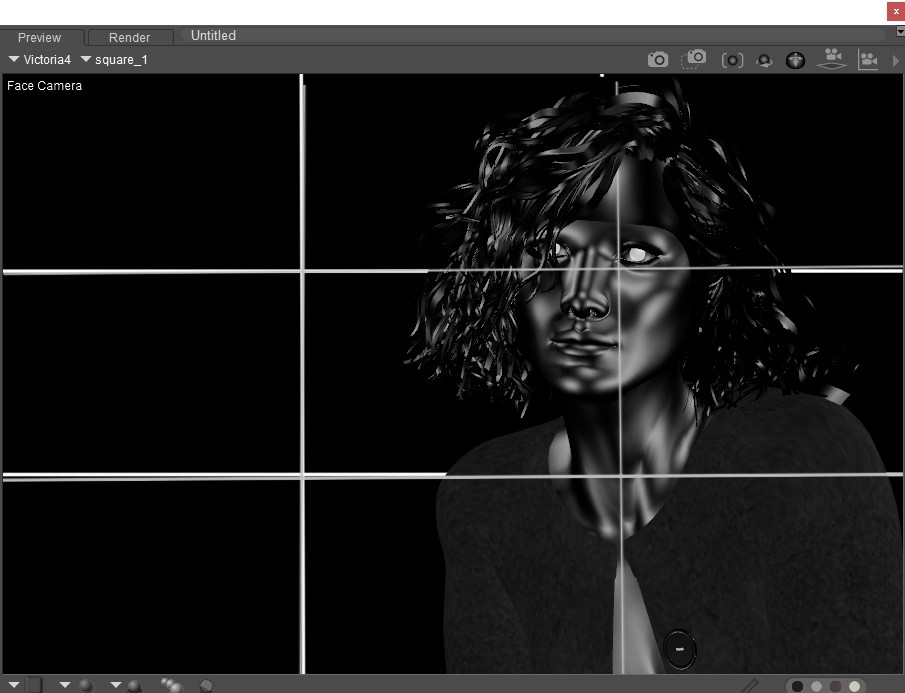
To apply the Rule of Thirds in Poser you can create your own grids and use them as a background image.
Quick and Simple:
Go to Display > Guides and uncheck Ground Plane
Go to File > Import > Background Picture and load a grid image.
Resize your Preview window to fit the grid properly.
Scale the grid up or down as needed—just keep the proportions consistent.
The background will not be visible in your final render.
Detailed:
For more accuracy you can use a black and white grid as a transparency map for the native Poser one-sided square prop and place that in front of your subject to see the lines and intersections better. This overlay helps you frame your subject with precision Just make sure "Visible in Camera" is unchecked in its Properties tab so it doesn't show up in your final renders.
Applying It to Portraits
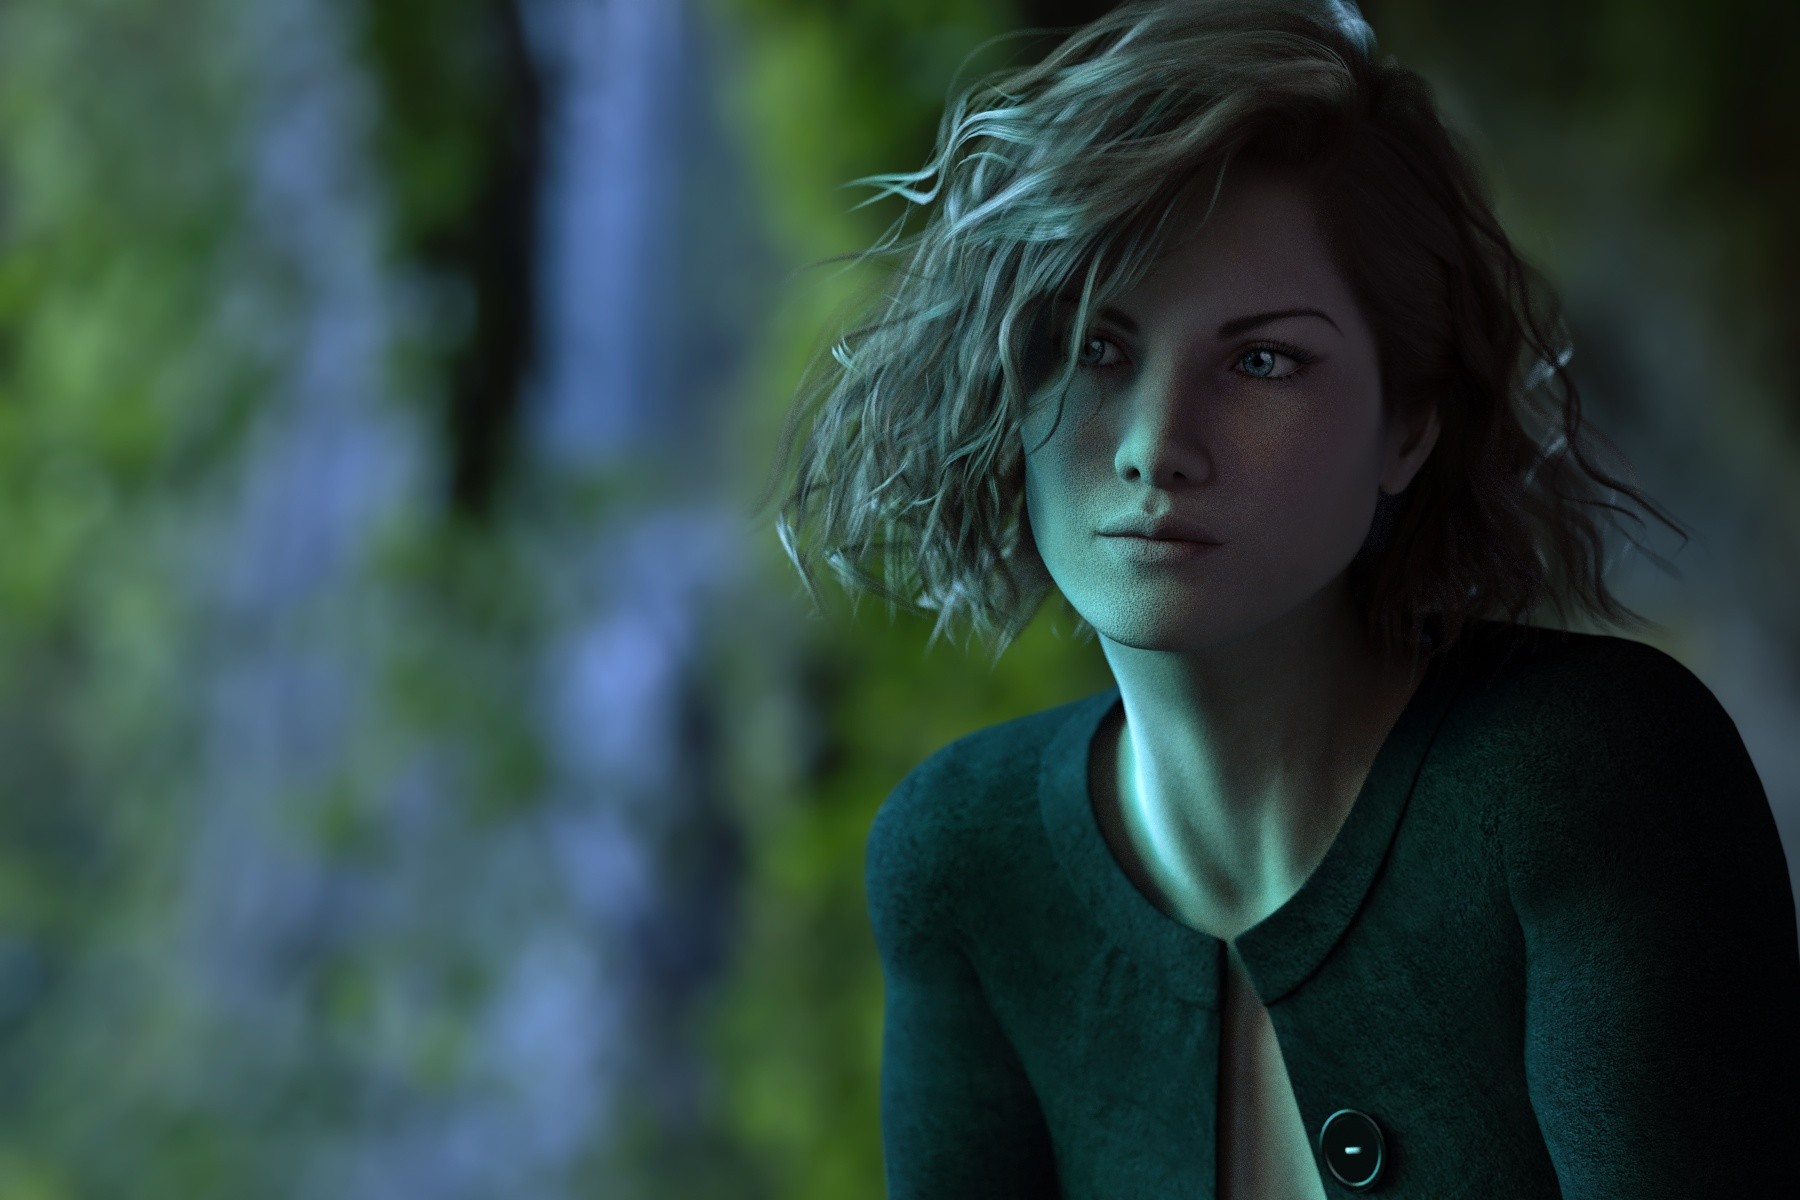
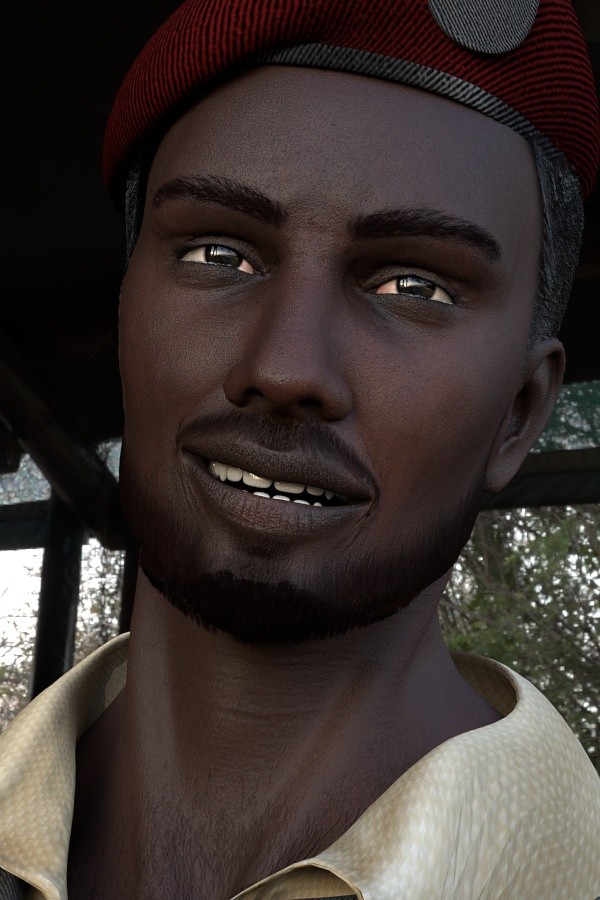
Eye Placement: Position the subject’s eyes near the top third line or at an intersection. This naturally draws the viewer’s gaze and creates a strong focal point.
Body Positioning: Align the head or torso along one of the vertical lines. This adds breathing room and avoids the stiffness of a centered pose.
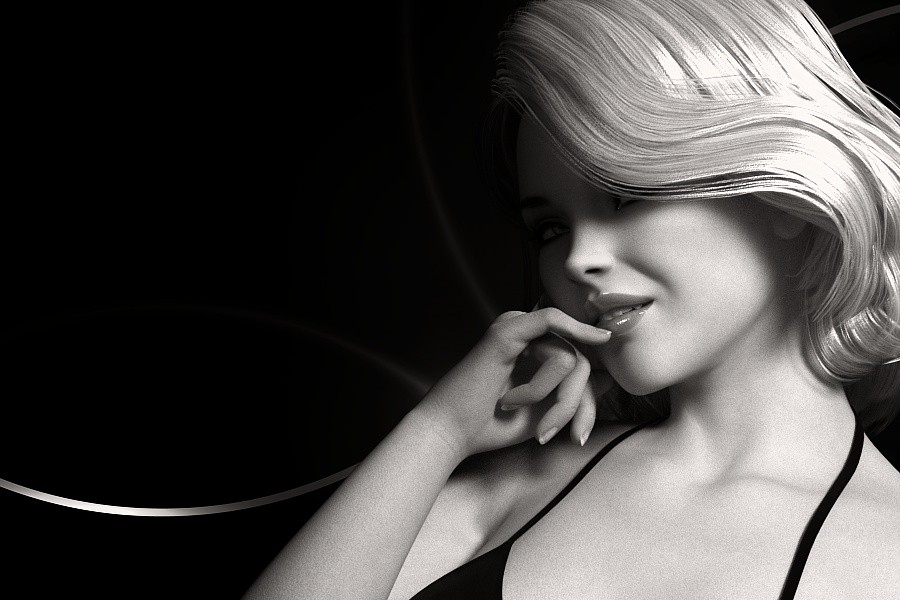
Gaze Direction: If your subject is looking left, place them on the right third of the frame—and vice versa. This gives space for their gaze and adds narrative depth.
Background Balance: Use the remaining two-thirds of the frame to include environmental context, props, or lighting. These elements enrich the mood and storytelling.
Why Not the Center?
Centering isn’t “wrong”—but it’s often less engaging. Off-center placement introduces subtle tension that keeps the viewer’s eye moving. Leaving space on one side (known as narrative space) allows room for storytelling: where the subject is looking, what surrounds them, or what’s about to happen. Once you understand how the Rule of Thirds works, you can break it intentionally to create bold, unconventional compositions.
Helpful Tips
For close-up portraits it's best to use the Face Camera as it sets the focal length to 95mm (85mm should be considered the minimum in portraits) and this reduces distortion while flattering facial features.
Enable Depth of Field to subtly blur the background (narrative space) and focus attention on your character.
Enable Depth of Field to subtly blur the background (narrative space) and focus attention on your character.
You can have horizontal or vertical grids depending on the type of portrait you're composing.
By understanding and applying the Rule of Thirds, you unlock a powerful tool for creating portraits that feel intentional, balanced, and emotionally resonant. When you're working in Poser, this simple grid can guide your creative choices and enhance your storytelling. And while it’s a trusted guideline, don’t be afraid to break it once you’ve mastered it—because great art often lives just beyond the rules!