.png)

In Poser 13, you have the power to modify your 3D models without the need to jump into third-party applications. This is a very useful feature, as you can modify your characters directly into the application, to add or modify details that will make them the way you want them.
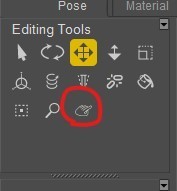
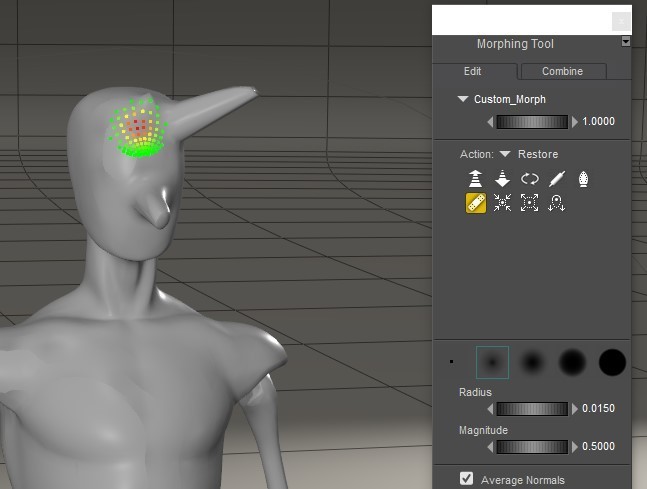
To do this, you can use Poser’s Morphing Tool. The Morphing Tool can be found in the Editing Tools pane.
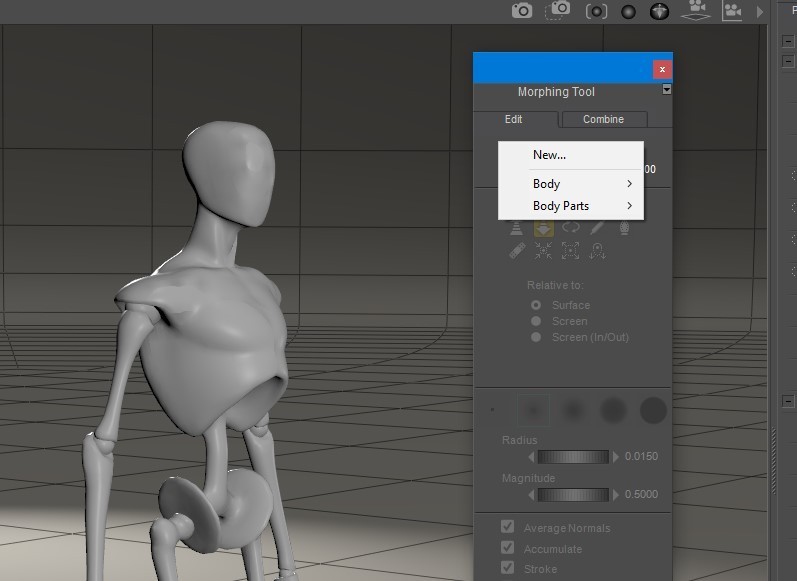
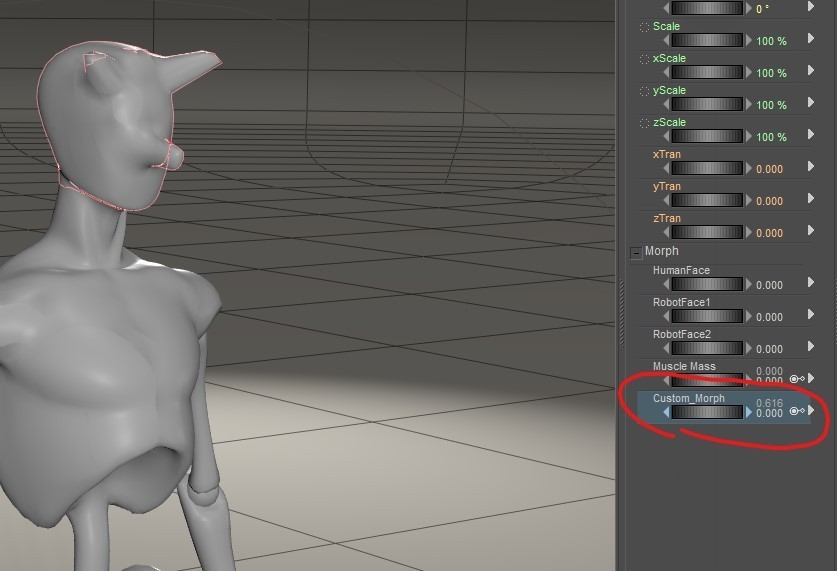
Of course, handing a figure with so many magnets can be complicated, so you should create a full-body morph that encapsulates all the magnet deformations you have made. To bake the magnets onto a full-body morph, you can use the “Spawn Full Body Morph” command in the Figure menu. After you do this, you can just get rid of the magnets and use the newly-generated full body morph to apply the deformation to your character.
While using external tools like ZBrush to make your morphs can be a powerful addition to your workflow, you can also use Poser’s built-in tools to make your custom morphs. This is an easier and budget-friendly way to create your custom characters directly inside Poser!
Do you create your custom characters for Poser? How are you using Poser’s tools to make your custom characters? Share your thoughts in the Poser forums!
 Nemirc, aka Sergio Rosa, is a freelance graphics technology reporter and video game creator/developer. He has been working and creating in 3D for over two decades. He loves movies and writing as well. Nemirc was introduced to 3D from one of the very first versions of Poser.